
If you just bought your first wireless keyboard, you’re probably wondering how to connect it to your laptop. While this sounds like a daunting task for those who have never done it before, knowing how to connect a wireless keyboard to a laptop is pretty simple.
This guide will show you how to quickly install your keyboard and start using it right away.
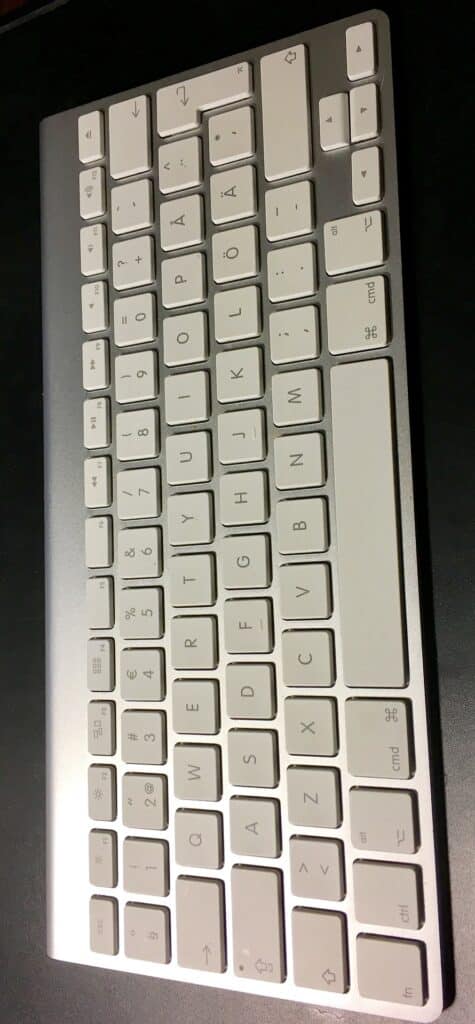
How to Connect Wireless Keyboard to Laptop
Unlike corded keyboards where you simply plugin and type away, connecting a wireless keyboard is a bit different. There are two common ways to connect a wireless keyboard to your laptop: Using a wireless receiver or using Bluetooth.

How to Connect a Wireless Keyboard Using Bluetooth
There are very few steps to connecting a wireless keyboard to your laptop using Bluetooth. Note: This process uses the Windows 10 Operating System so it may be slightly different if you are using a different OS.
Start by turning on your wireless keyboard using the On/Off Switch. If it is already on, turn it off and on again so that it becomes easily discoverable by the laptop.
The location of the switch may vary depending on the kind of keyboard you are using. It is not hard to find so you won’t be looking too hard. You’ll first need to ensure that the keyboard is fully charged before attempting to connect it to your laptop.
After you’ve turned on your keyboard, try the following:
- Open the Start Menu by either clicking the Windows icon in the bottom-left corner of your laptop’s display or pressing the Windows key on the laptop’s keyboard.
- Click the Settings icon in the bottom-left corner of the laptop’s display. It is the second button after the Power button.
- When the Settings window opens, click on the Devices option.
- You’ll go to another page with some tabs on the left side. Click on Bluetooth & Other Devices. This is usually the first option opened by default when you open the Devices option.
- Turn on your laptop’s Bluetooth connection by toggling on the Switch beneath ‘Bluetooth’.
- Click on Add Bluetooth or other devices on the top of the page.
- Another window will pop up with three options. That is Bluetooth, Wireless display or dock, and Everything Else.
- Click on the Bluetooth Option.
By this point, the laptop will start scanning for nearby Bluetooth devices. Since your wireless keyboard is already turned on, it should be discovered by the laptop. If it pops up, click on the Keyboard’s name and then Pair.
If it doesn’t, try turning the keyboard off and on again until the laptop detects it. Sometimes you might need to type in a PIN for your laptop to connect with the wireless keyboard.
If the pairing is successful, your wireless keyboard will be ready to use. You can test in by typing a few words into a word processor like Word or Notepad.
Note: You can follow this process (more or less) when hooking up your keyboard to a tablet.

How to Connect a Wireless Keyboard Using a Unifying Receiver
Unlike with the Bluetooth method, connecting a wireless keyboard using a receiver is much more straightforward. If you purchased a wireless keyboard that connects via a receiver, you should have the following items in your package:
- The wireless keyboard
- One or more wireless receiver
- Software (usually on a CD or download)
- Manufacturer’s manual
After you’ve made sure you have everything you need, try the following to connect the keyboard to the laptop using a wireless receiver:
Start by plugging in the unifying receiver into one of your keyboard’s USB ports. This is a small USB dongle physically connected to the laptop that allows the wireless keyboard to communicate with the laptop.
Some setups may come with two receivers, for the keyboard and mouse.
- Turn the keyboard on. If it uses AA or AAA batteries instead of built-in ones, make sure that they are functional before proceeding with the connection. If the keyboard comes with a charger, ensure that it is well-charged.
- Press the Connect Button on the keyboard. The location of the button will vary depending on the type of keyboard you are using. It’s usually on the sides or top of the keyboard.
- You are done! Try typing into a word processor to see if the wireless keyboard is working.
There are other additional, quick things you can do if the keyboard doesn’t work after connection:
- Try turning the keyboard off and then on again
- Check that the keyboard has fresh batteries or is enough power
- Check if you plugged the wireless receiver correctly into a functioning port
- Make sure the receiver is at least 8 inches from any source of possible signal interference such as computer monitors and cases, fans, metal filing cabinets, and fluorescent lights
- Make sure that the keyboard is not too far from the wireless receiver or no more than 1.5 feet
- Update wireless keyboard drivers or uninstall and reinstall them.
If your package comes with software, you will first need to install it before you can start using the wireless keyboard.
How to Install Wireless Keyboard Software
The software usually comes on a CD or available to download from the manufacturer’s website. This software usually comes with drivers that instruct the laptop’s OS on how to respond to the wireless keyboard so that the two become compatible.
Depending on your manufacturer, the setup process for the software might be different. Make sure to check the instructions manual that comes with the package.
That being said, the installation process is fairly straightforward. Just start the installation program you will receive on-screen instructions on how to proceed with the installation.
While some packages might not come with the software, they need you to download one from the manufacturer’s website. In this case, after downloading the software, you can run it by following the simple installation instructions.
Conclusion
Connecting a wireless device to your laptop is pretty simple once you understand how everything works. We hope that this guide will help you to quickly start using your new wireless keyboard and take a break from messy cords.