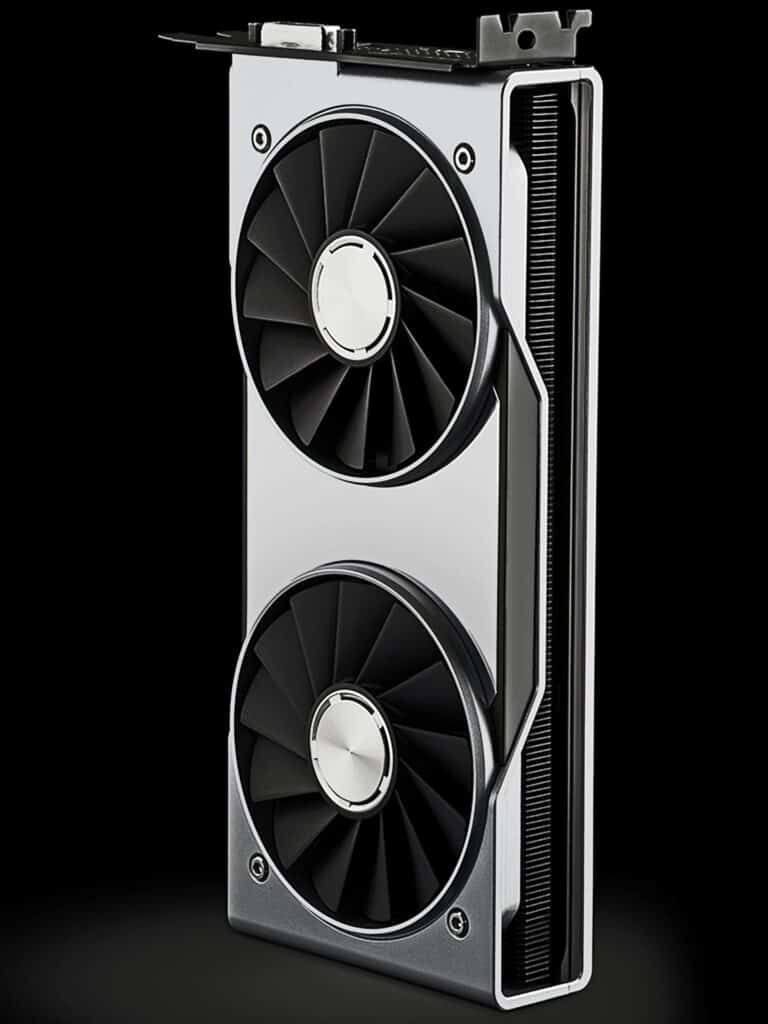
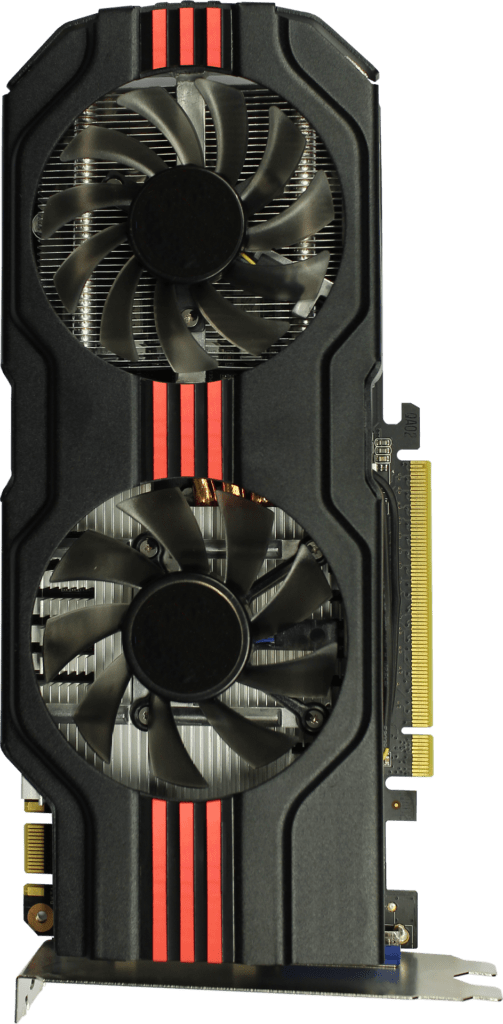
Every computer system depends on its cooling system to control its internal temperature. This system is usually compounded by one or two fans in a Laptop and two or more in a Desktop. If the fans fail, the motherboard, CPU, and GPUs may suffer. It’s important to know how to test GPU fans to prevent potential overheating.
How to Test GPU Fans
Before going to test your GPU fans, or performing a stress test in your GPU, it’s convenient to identify the cause of the possible failure, to make an assertive evaluation. What may cause your GPU fans to fail?

Check for Grime
Something so simple, like the continued accumulation of dust, hair, and grease may stop your fans from working. Grime penetrates inside our device through our keyboard or the air inlets of our case.
There are two ways grime may stop the fans: One is covering the fan itself and clogging the fan. The second one is blocking the device air inlets. Do you have a pet at home? It’s amazing the amount of hair that can be accumulated in these little spaces.
Check the Power Source
One possible cause to stop the spinning of the fans can be an electric one. A cable damaged, or accidentally unplugged will stop the fans. Check the status of your cables
Check for GPU Failure or Misconfiguration
Sometimes, the cause of a paralyzed fan can be outside of the cooling system. A misconfiguration of the GPU may indicate the fans not to turn on. A damaged motherboard will fail to communicate with the fans.
In this case, a paralyzed fan may indicate a bigger failure in the main components of our device.
Testing Your GPU Fans
In the face of the several causes that may affect our fans, it’s important in consequence to perform an adequate test to make an assertive evaluation.
Test Number One: A First Look to the GPU Fans
A simple routine check of the fans in its external look may tell us some significant information about our device.
An accumulation of dust and grime around the cooler unit of the motherboard may indicate to us it’s clogging. After a simple cleaning with a wet towel and a soft brush for the air inlets, you can try to turn your unit on and watch the performance of the cooling unit.
Test Number Two: Checking the Power Supply
To verify if the problem with the fans resides in the power supply, one effective test is to connect the motherboard (That includes the GPU) to another power source. If the fans turn on, the problem then is located in the Power Supply Unit (PSU) of the original Laptop or Desktop.
On the other hand, if the motherboard is connected to another power source and your fans don’t turn on, then the problem is located in one of the main components of the motherboard (PCU, GPU, HD, PCI).
Let’s keep in mind that in the last generations of laptops, the motherboard integrates with the Graphics Processing Units, GPU. In consequence, if you want to locate exactly where the problem is, you’ll have to extract each one component and get it to work by itself with the power unit.
Test Number Three: A Stress Test for the GPU
Sometimes, the routine tests are not enough to determine with precision why a cooling system is unstable, and a deeper inquiry is required.
What is a Stress Test?
A very particular procedure, a Stress Test is a precise way to determine under what conditions of load, temperature and time, a GPU tends to fail or crash. When you perform this test, you push three variables to their limits: processing power; electrical power and temperature.
Keep always in mind that the objective of a Stress Test is to accelerate these variables to the point of crashing, to register in what moment and under what conditions the GPU collapses, if it does. This can be very useful to determine why the cooler system of a Laptop fails, among other interesting facts.

Unlike the previous manual tests, the Stress Test is made using an app installed in your device. There are several Apps available (Furmark; Ungine are among the most popular). These Apps are designed specifically to test your GPU.
When it comes to other main components of the motherboard, like the CPU or the RAM, there are Stress Tests specifically designed for that element, too.
Important Notice Before Performing the Test
If during the performance of a Stress Test in your GPU, you surpass its maximal capacity for a long period of time, you are risking to burn and damage permanently your components.
You must focus while you execute the test, monitoring continually the indicators of your device. If you don’t feel confident to do the test on your own, do it along with a competent technician.
The simplest test for the GPU will take 30 minutes to perform. So, it’s better to turn off your screensaver, if you have one, and halt the sleep mode settings, so the test does not get interrupted.
Close all your programs. Especially all multimedia content.
Open the App you downloaded. You should select the type of test you want to perform. If it’s your first evaluation, we recommend the “Basic ability Test”. It will last for 30 minutes and it will stress processing power and electrical power.
Performing the Test on the GPU
Once everything is set up, you can start with your Stress Test for your GPU.
If you choose the “Basic ability test”, the tool will force the GPU constantly for 30 minutes. This lapse is enough to evaluate the threshold of resistance of your device. If your power source has a problem, that will arise in that lapse.
If your GPU has a failing configuration you will see it immediately, too. You should verify GPU Temperature and GPU Usage. Your GPU will easily rise to 90 degrees Celsius and your GPU Usage to 100%. Don’t be alarmed by either of these values.
How to Read the Result of the Test
If your device passes the 30 minutes of the “Basic Ability Test”, reaching a temperature of 90 Celsius degrees, and with a GPU Usage of 100% without crashing, then your GPU is in good general condition.
If your device crashes during the 30 minutes of the “Basic Ability Test”, either by overheating, reaching a temperature superior to 90 Celsius; or due to the collapse of the GPU (With usage to the 100%), there is some failure in one of these components.
In consequence, you should play with each one element (temperature or usage of the GPU) to find the specific origin of the issue. You can perform similar tests to your CPU or your RAM, with different software Apps, and make some adjustments in the duration of the tests among other elements.
Stress Test and Overclocking
With the introduction of the Stress Test, some other interesting options are open to getting the most of our devices with no conventional tools. One of these options is Overclocking.
As we all know, the performance of all devices and its components in electronics, have a tolerance margin. An AMD GPU A6 Radeon processor has 2.60 GHz of RAM. This measure of speed is average, and depending on the chip it can be above 2.60 in some devices and measures, or below this measure.
If manually we can configure certain variables to take our components to a more real level, the overall performance will get better. This is especially appreciated in the field of gamers, which is very inclined to the customization.

Push the limits
When it comes to speed, for example, almost all chips are faster out of the box than the nominal value in the box. This gap is manipulated in one overclocking to increase all key indicators to get overall better performance.
To Overclock your device, the best moment is when you perform a Stress Test. Every single test will indicate where your device has more strength, so you can adjust it.
By performing a Stress Test you get to know the limits of your device. Overlocking allows you to push them.
Conclusion
Test your fans allows you to take good care of your device. The cooling system of your Desktop or Laptop is basic to keep your device in good shape. From the single tests to the most complex, to control the temperature in the motherboard is a must.
The different tests for GPU fans and for the GPU as a whole allow us to know more about the cooling system of our computer, and in consequence, how to manipulate not only features related to the control of temperature but the performance itself of the device.
